Manufacturing

Manufacturing

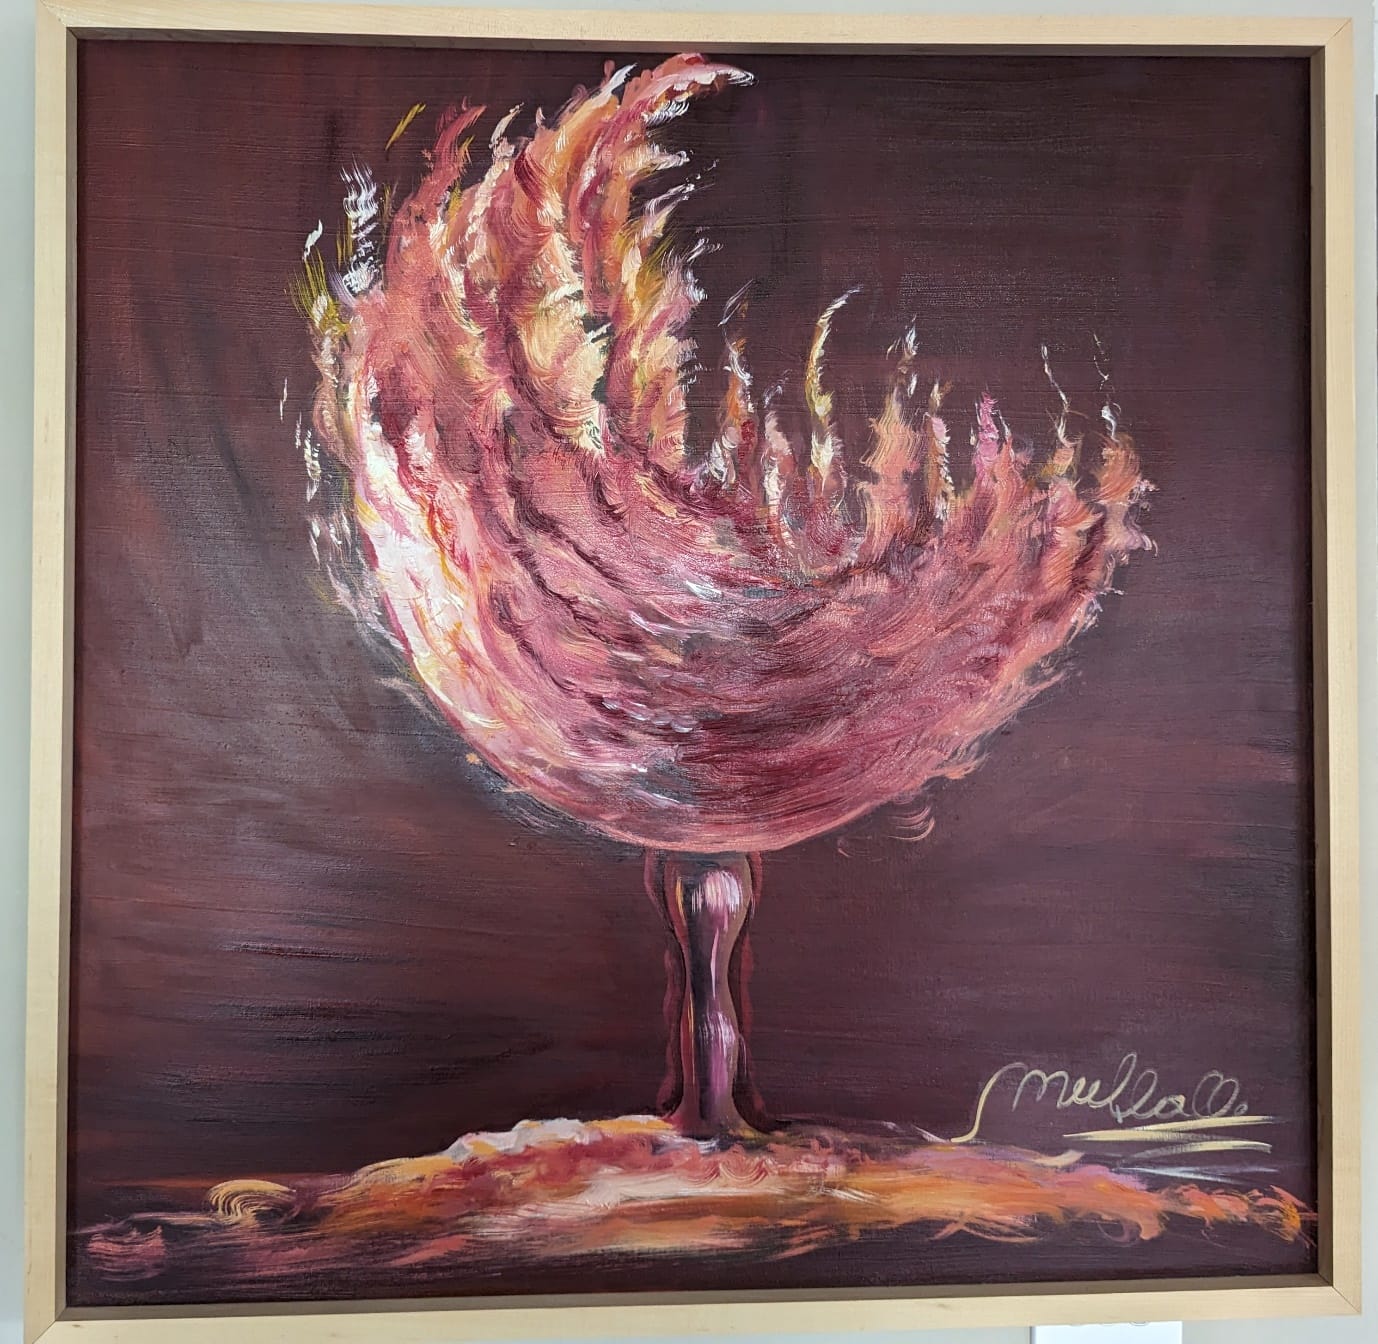
Manufacturing art, which typically refers to the creation of art objects or reproducing using various techniques and materials. Manufacturing products is essential and important, the process often involves innovation and the development or advanced techniques, it leads to the creation of new products and improve overall the quality.

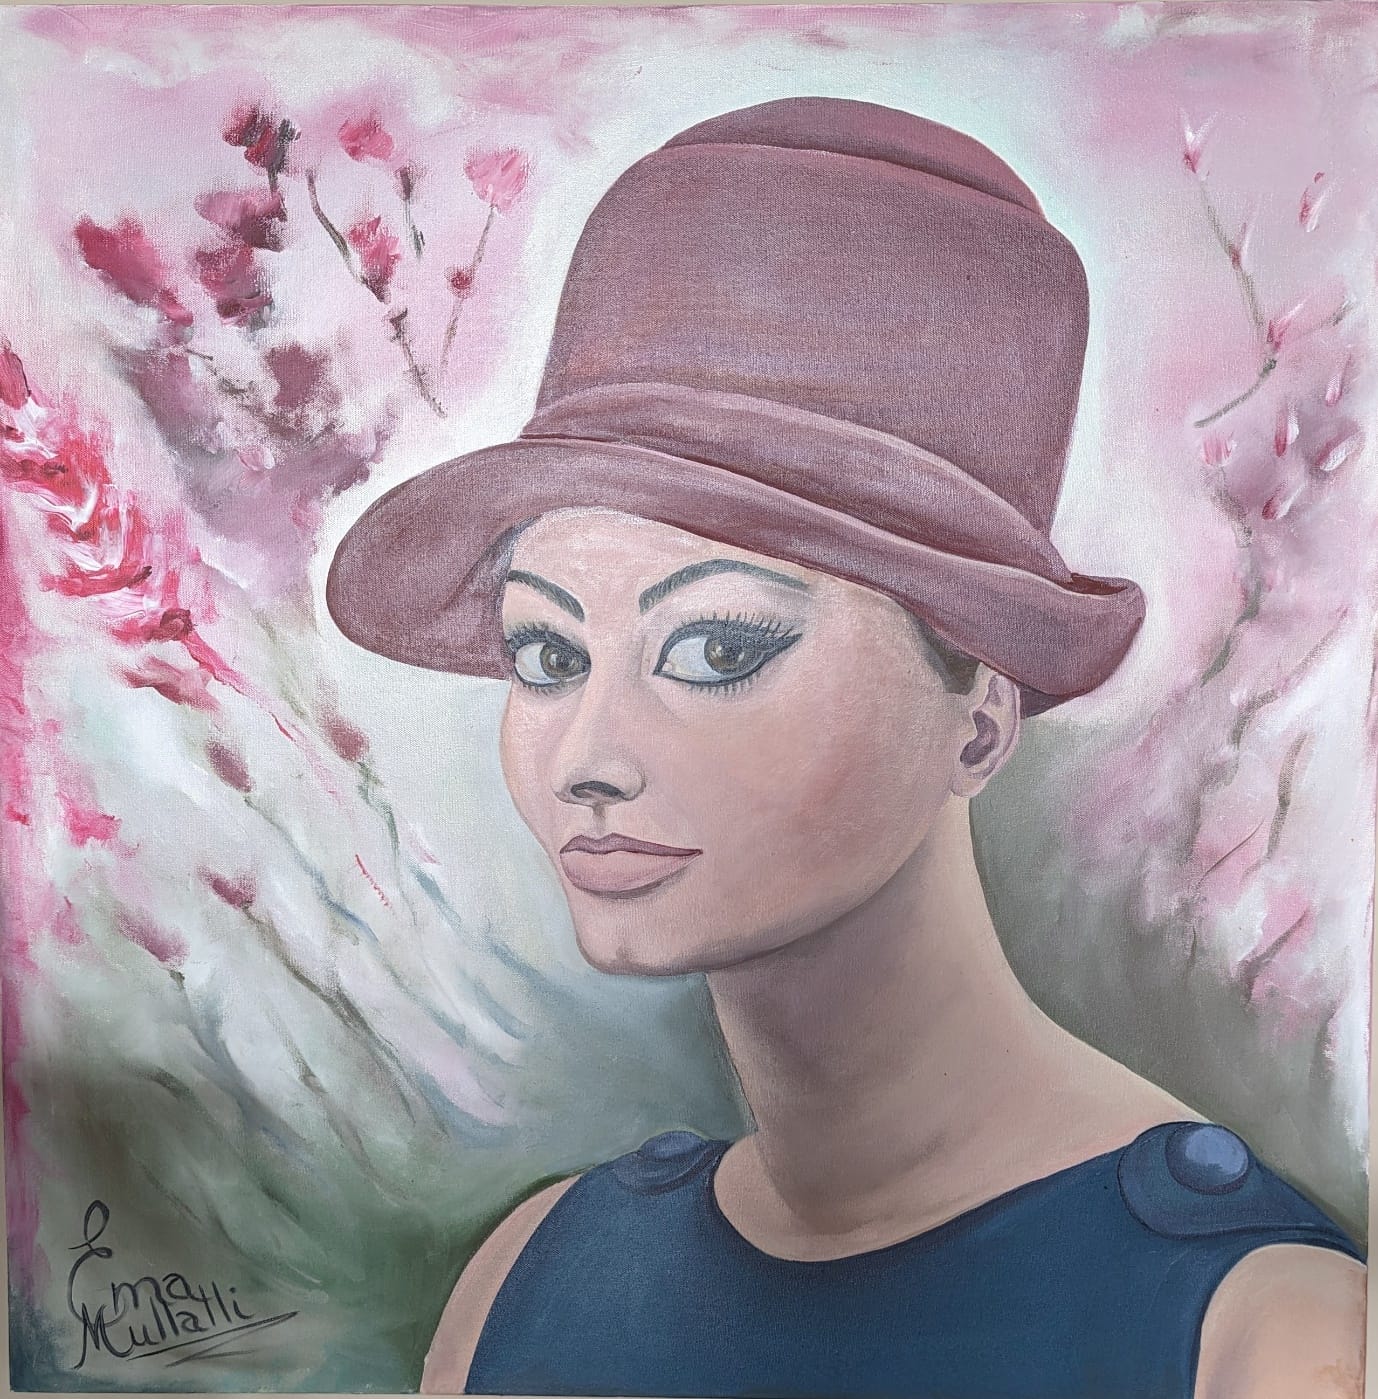
When we create paintings, including portraits, landscapes, still life, nudes, and murals, involves outlining the key steps and techniques used by the artist Ema Mullalli to produce these types of artworks. It is a general guide for each category.

Portraits

Subject selection, reference materials, canvas and supplies, sketching, underpainting, layering, fine details, drying and varnishing.

Landscapes

Location selection, Sketch and Composition, Canvas and Supplies, Blocking in Colours, Details and Depth, Textures and Techniques, Final Touches, Drying and Varnishing.

Nudes

Model and Setup, Canvas and Supplies, Sketch the Proportions, Tonal Values, Colour Layers, Body and Form, Face, and Features, Drying and Varnishing.

Murals

Mural Design, Surface Preparation, Materials and Tools, Grid or Projection, Base Layer, Layering and Detailing, Finishing and Sealing.

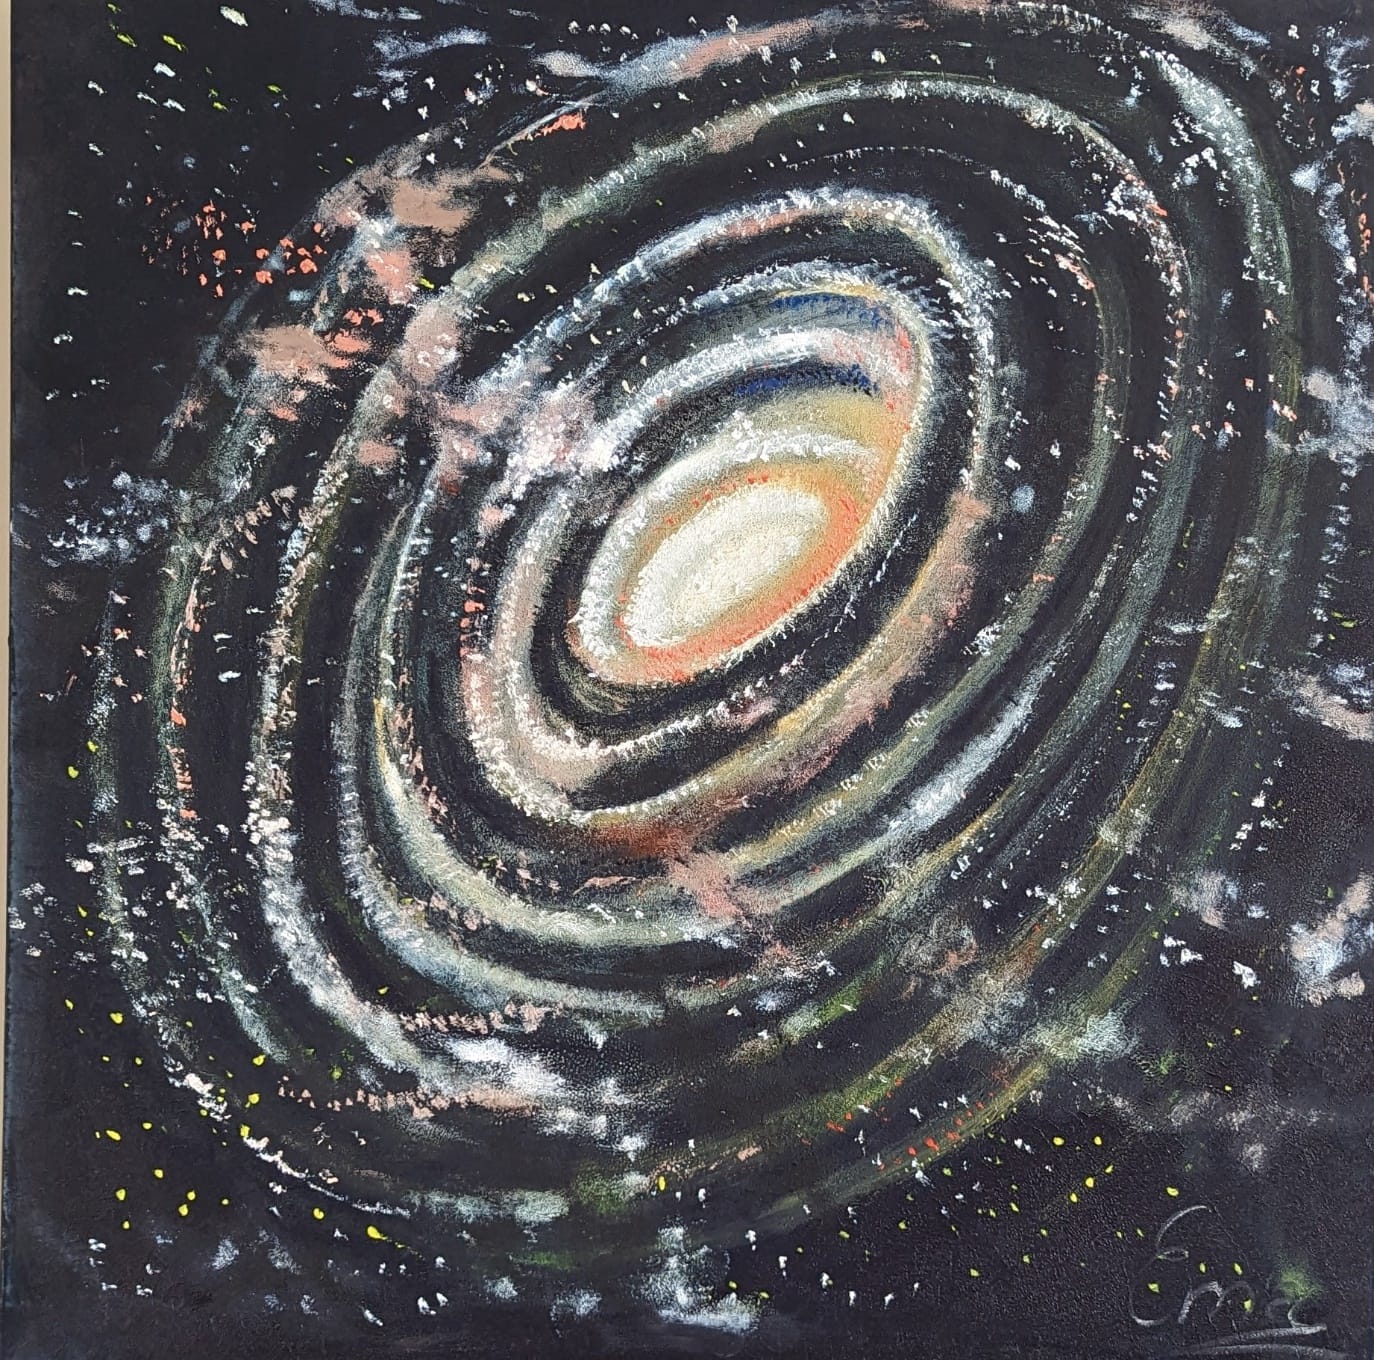
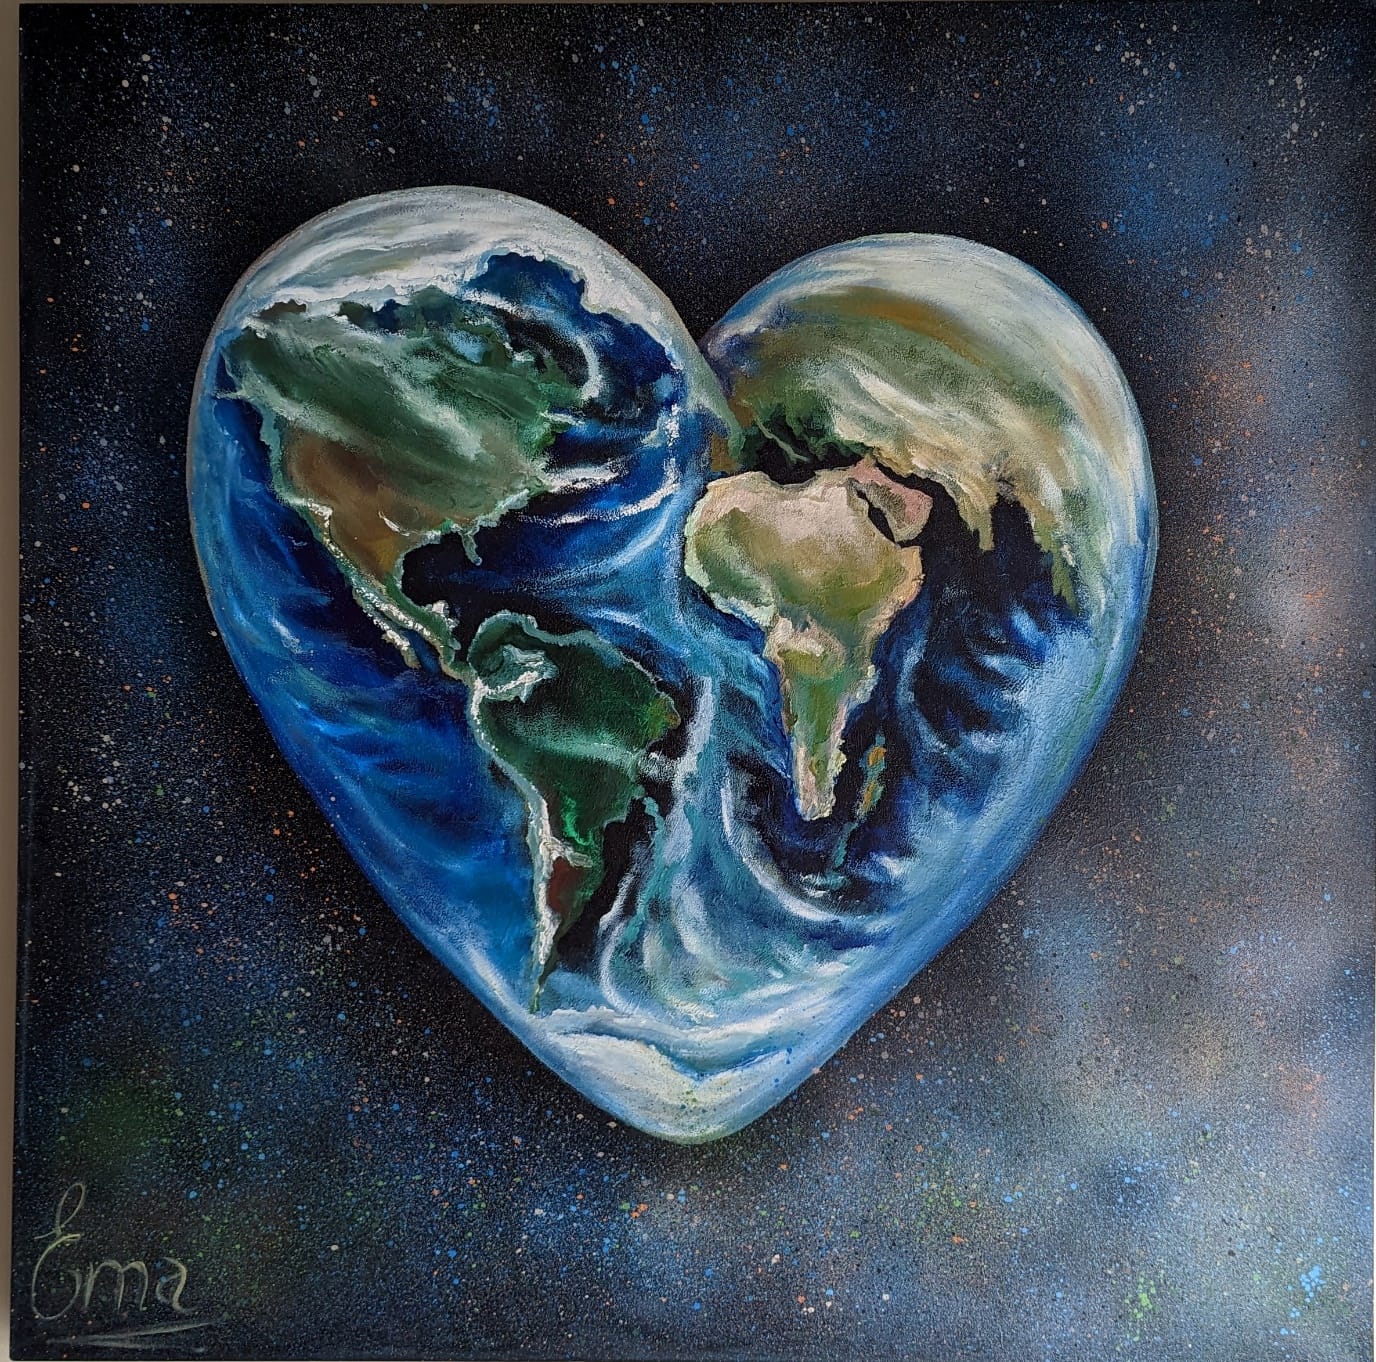
We work with epoxy resin in 6 art style such as Chrystal Heaven, Creations, Galaxy. Nature, Destinations, and Tropics.

Creating a professional-quality epoxy resin product involves careful planning, craftsmanship, and attention to detail. Epoxy resin is known for his stunning visual effect and durability. It is a step-by-step guide on how to make a product with epoxy resin in a professional manner.

Creating art with epoxy resin in a “Chrystal Heaven” art style involves crafting ethereal and intricate pieces that showcase the beauty and luminosity of crystals and celestial elements. We choose High-Quality, clear epoxy resin with a high-gloss finish to achieve the crystal-like appearance, and a hit gun or torch for removing bubbles and creating the signature crystal-like clarity, assorted crystals, gemstones, and inclusions like glitter, metallic flakes, glass diamonds and microbeads to enhance the celestial effect. Designs are inspired from celestial imagery, such as stars, galaxies as well as the natural facets and formations of crystals. Strategically we place crystals and inclusions within the epoxy to mimic the appearance of celestial bodies and crystalline formations. It is a mesmerizing process that combines the luminosity of crystals with the enchantment of celestial elements, creating texture and depth to achieve the captivating and otherworldly effect that defines this art style.
Second art style which is “Creation” involves using the versatile medium to craft intricate and visually captivating pieces that symbolize the act of bringing something into existence. This style often combines organic and abstract elements to represent the creative process and the birth of new ideas. We use high-quality clear epoxy resin suitable for casting if it is going to be a table or artwork epoxy resin for making a wall art. Various material such as leaves, metallic flakes, glitter, or an object that can be embedded within the epoxy. The design guides us on the artistic process, we place the inclusions strategically within epoxy layers, these inclusions can symbolize the elements of creation, growth, or transformation. The “Creation” art style allows for artistic expression and interpretation of the concept of bringing ideas, forms, and beauty by creating a wide range of products. It is a unique and visually captivating approach to using epoxy resin as a medium for artistic expression.
Creating art or products with epoxy resin in a “Destinations” art style involves to capture the essence and beauty of various travel,destinations.This style combines elements of landscape, and symbolise to evoke a sense of wanderlust and exploration.Deppending in our project we may use canvases, wood panels(oak timber),MDF,for our epoxy art.We use optional materials such as sand,seashells,miniature figurines, or small objects that can be embedded within epoxy to enhance the destination theme. We choose the travel destination this could be a landmark, a scenic landscape, a county, state etc. Picking a design, pigment colours, creating layers and depth, pay attention to the texture and details etc. This art allows us to transport viewers to different places and evoke the sense of adventure and exploration associated with travel. It is a unique way to capture the beauty and atmosphere of various destinations through the medium of epoxy resin.
Galaxy as an art style is unique as well and we have a wide range of products. This art style involves capturing the breathtaking beauty and mystique of outer space, stars, and cosmic phenomena. This style often combines deep, dark backgrounds with vibrant, ethereal colours, creating a sense of wonder and otherworldly beauty. We use a high-quality of clear epoxy and deep blues and purple pigments and metallic hues. Glitter and metallic flakes to add sparkle and depth to the cosmic elements. We have a preliminary design that outlines the composition and placement of key cosmic elements like stars, planets, galaxies etc. Working with epoxy by pouring layers and creating depth and illusion, using fine brushes, sponges to add intricate details such as stars, constellations, and cosmic dust. Creating epoxy resin art in the “Galaxy” style allows the viewers to capture the beauty and mystery of the universe on a small scale. It is a mesmerizing and visually captivating approach to work with epoxy.
“Nature” as an art style involves capturing the beauty, serenity, and diversity of the natural world. This style often emphasizes organic elements such landscapes and geological formations. It celebrates the intricate details, vibrant colours, and the sense of calm that nature provides. When we work in this style, we would like to use wood panels if we produce a table or Mdf and a high-quality of epoxy suitable for casting and coating, and beautiful colours of pigments and optional materials like natural rocks etc. We develop a concept that represents the natural beauty and elements we wish to depict, Consider landscapes, forests, Mountains, Leakes etc. Paying attention to the colours, textures, and shapes of the natural elements with coloured epoxy create depth and dimension. When an artwork is ready to be displayed and appreciated as a tribute to the beauty and tranquillity of the natural world. This art style allows us to bring the wonders of the outdoors into your living space. It is a calming and visually captivating approach to using epoxy as an artist to celebrate the richness and diversity of nature.
“Tropics” as an art style involves capturing the vibrant, exotic, and lush beauty of tropical environments. This style often emphasizes tropical flora, fauna, and landscapes, with a focus on bright and bold colours. It celebrates the warmth, energy, and relaxation associated with tropical paradises. As always, we use a very good quality of epoxy, and we blend the two types of epoxies (clear epoxy for casting and coating and art creations epoxy) to enhance the effect of the water and waves. The pigments are in tropical colours such lush greens, vibrant blues, and bold pinks. Is important to gather photographs or images of tropical environments, and landscapes for inspiration. There are options of natural materials such as seashells or sand and stones that evoke a tropical theme and can be embedded within the epoxy. We develop a concept that represents the vibrant exotic beauty of tropical landscapes, flora, or fauna. Consider tropical beaches, rainforests, coral reefs, or specific tropical plants and animals, and create a design that outlines the composition and placement of tropical elements.

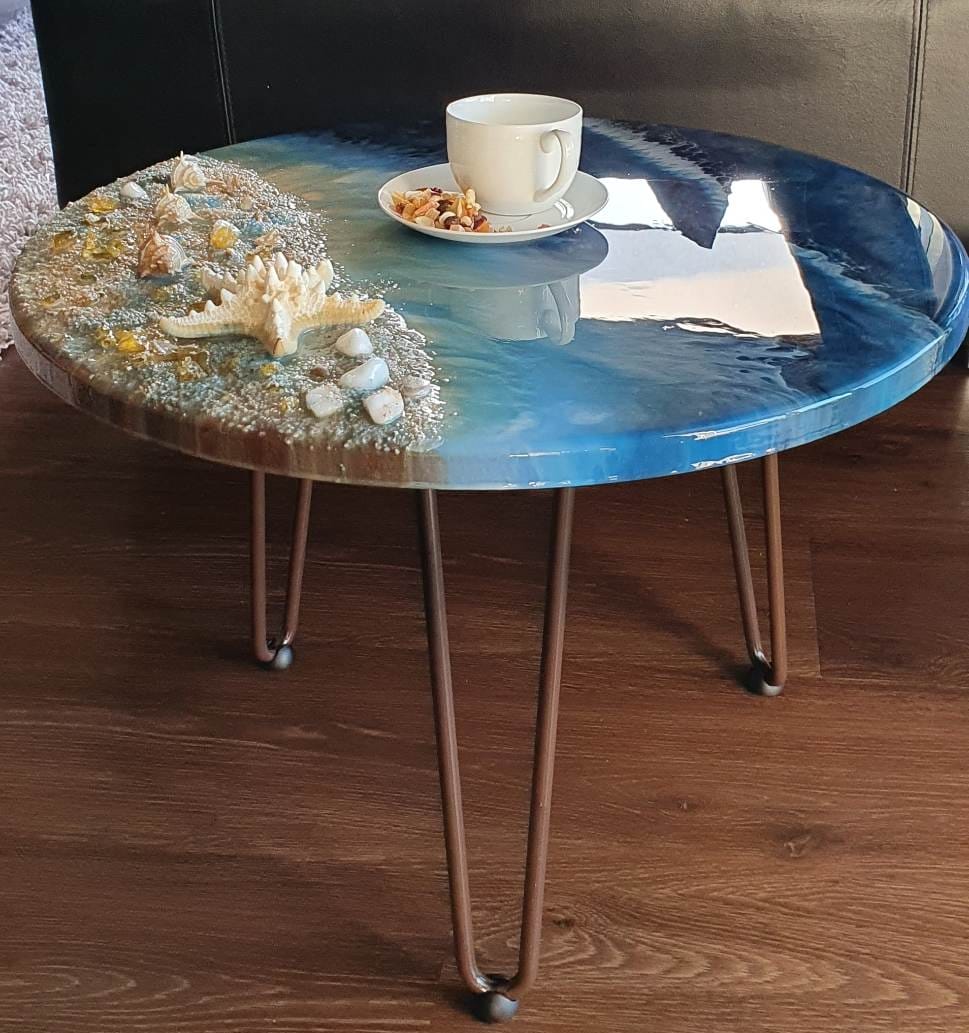
This art style infuses your surroundings with the vibrant and energizing atmosphere of tropical paradises and captivate the tropical allure of lush colours and exotic beauty.

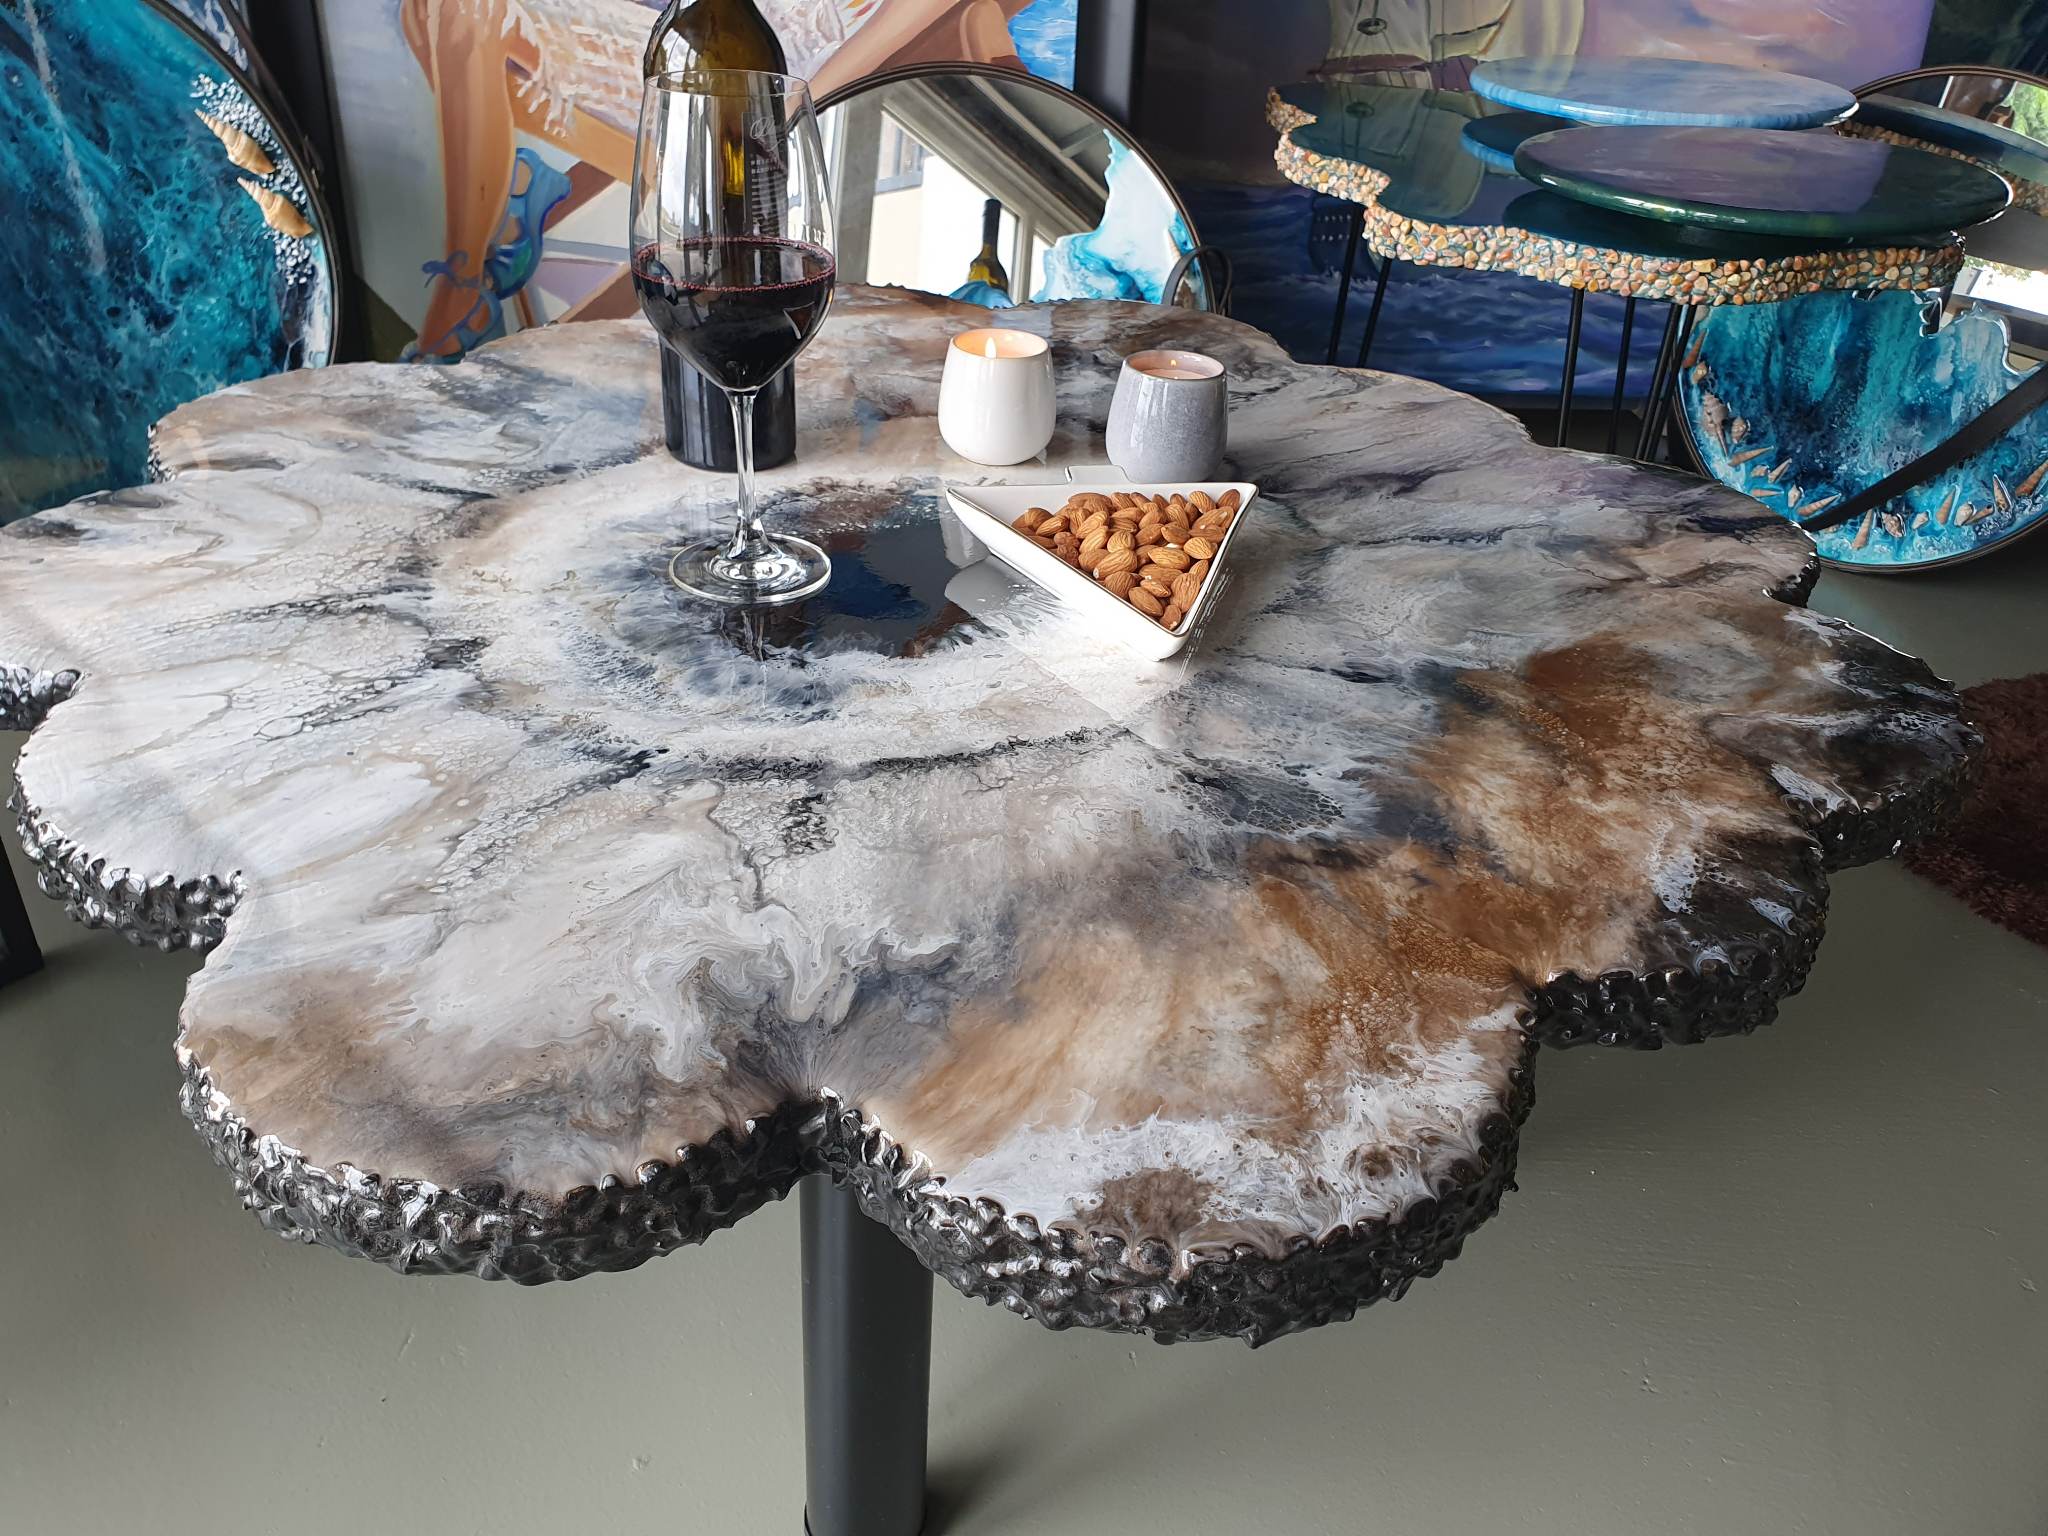
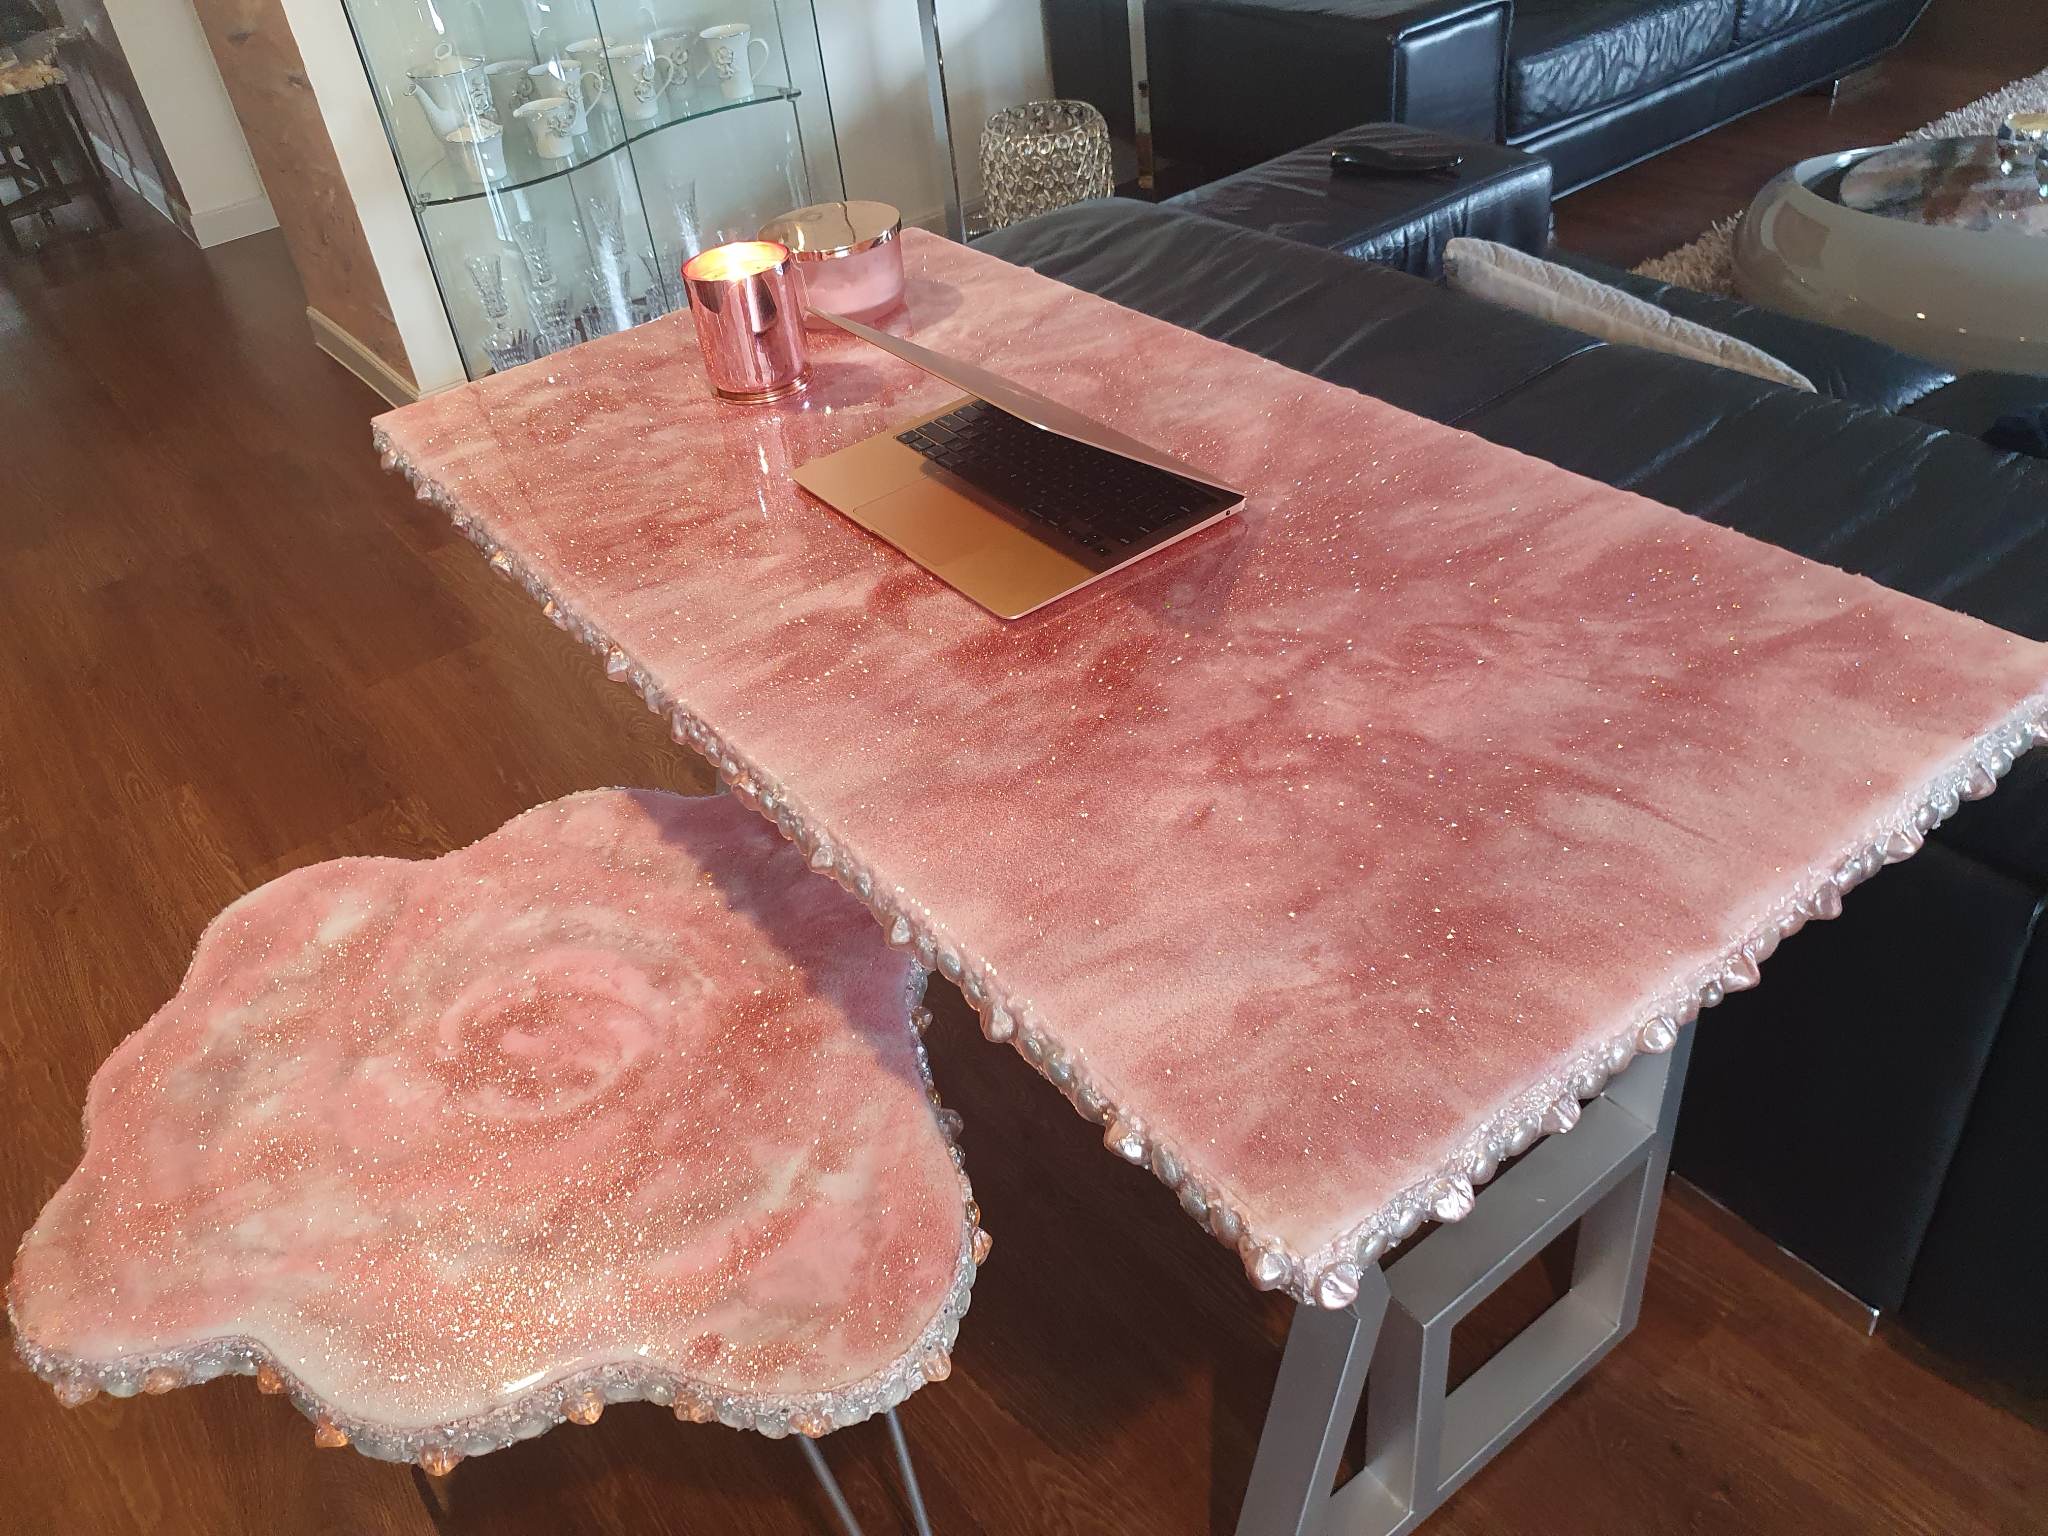
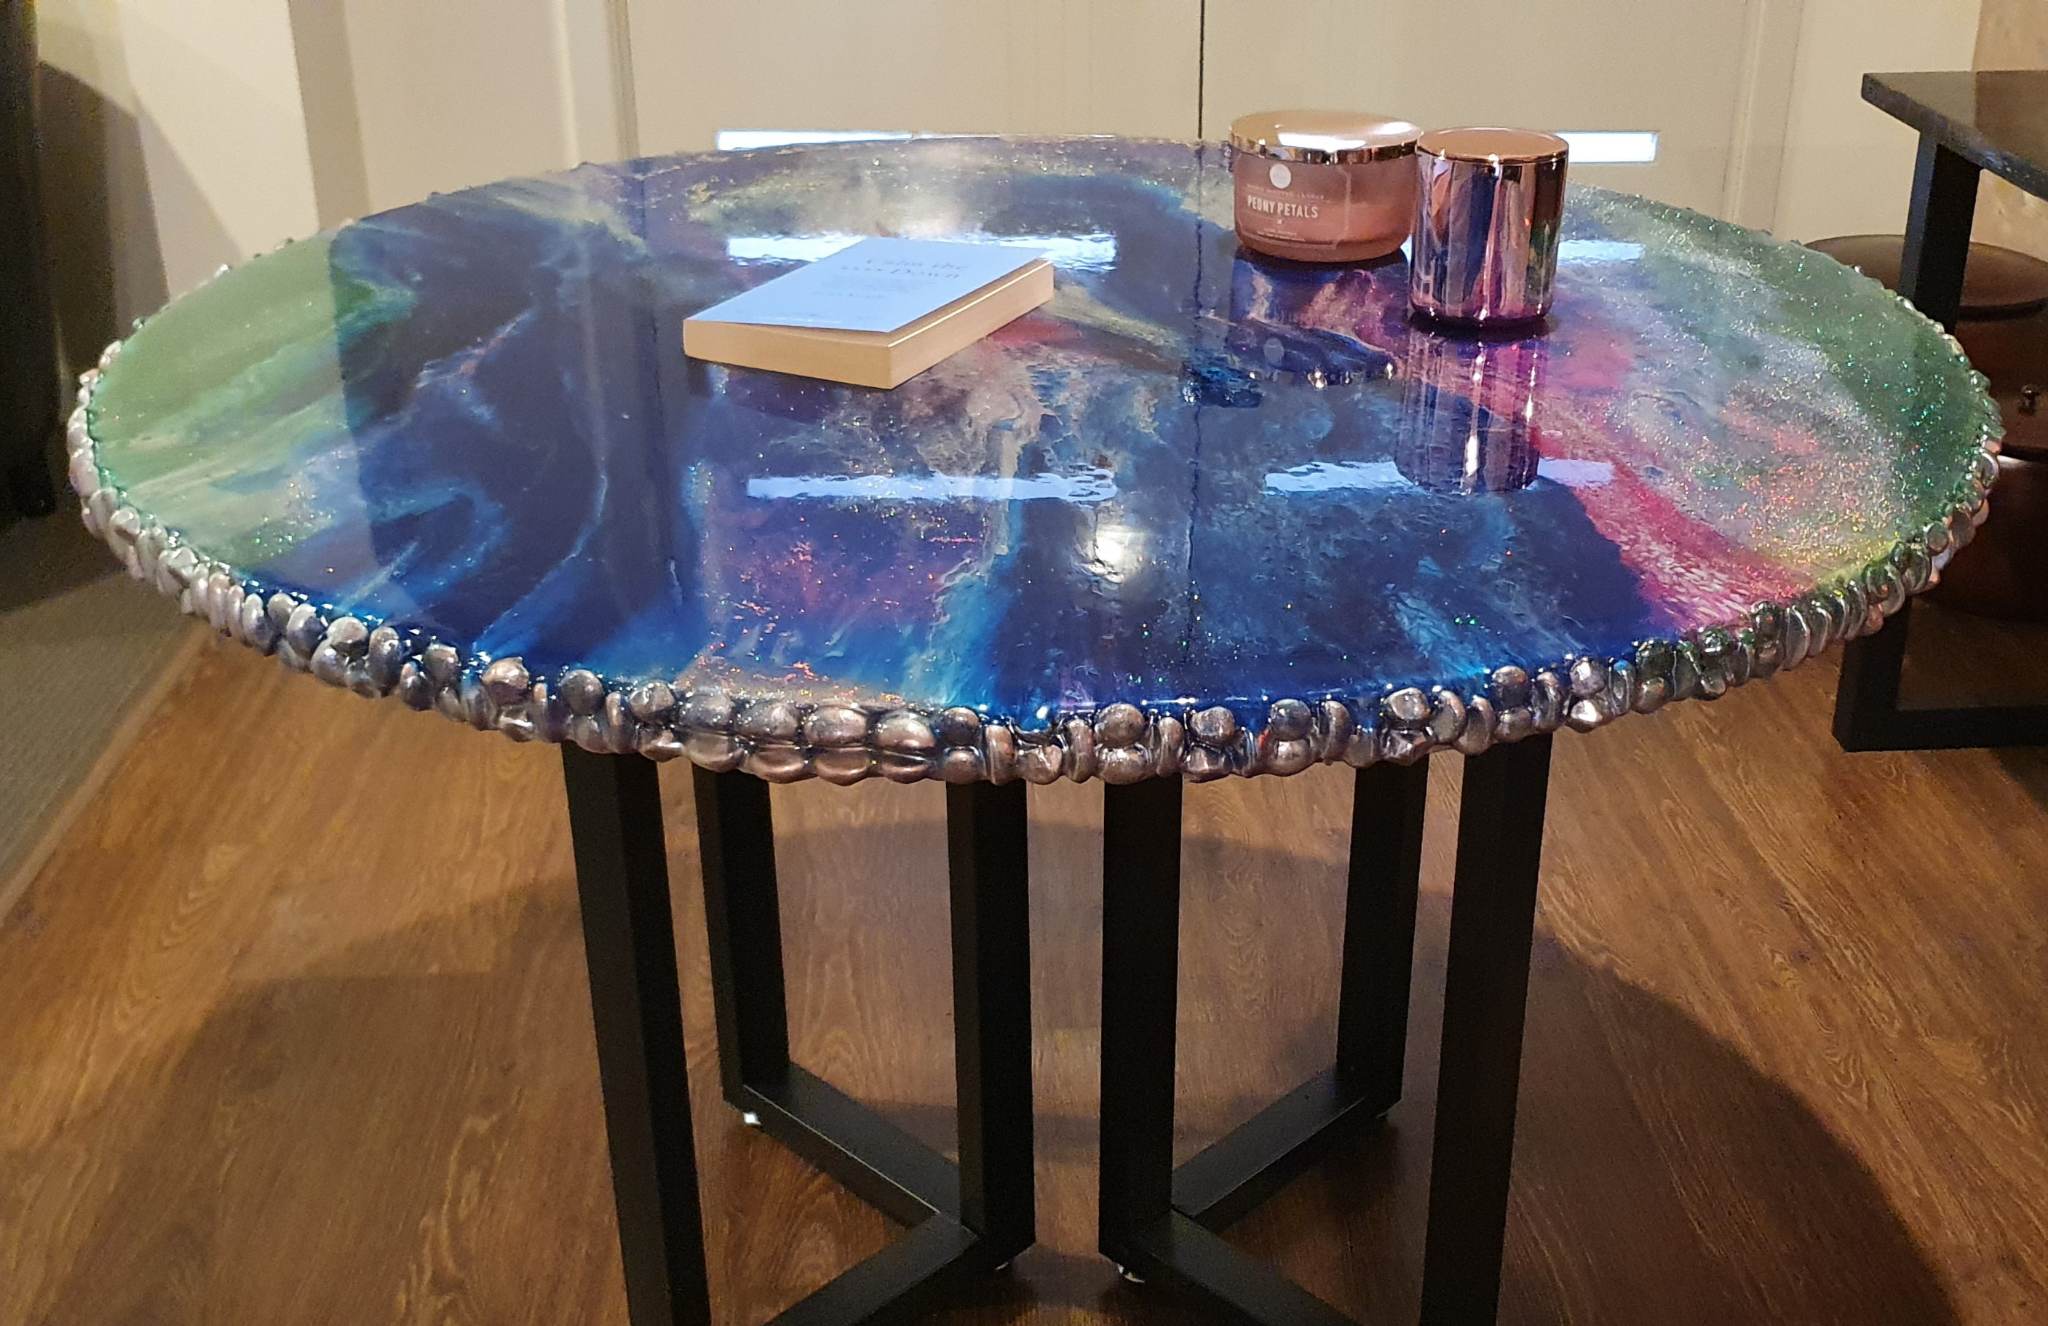
We would like to explain how we manufacture a table with epoxy resin there are several steps to ensure a professional and durable result. Here are the steps to manufacture a table with epoxy resin.

Materials and Tools:

Wood Slab

Choose a high-quality wood slab for the table’ top.

Epoxy Resin

High-quality, clear epoxy resin suitable for casting and coating.

Resin Pigments

Transparent plain pigments or shimmer pigments or metallic if we want to add colour.

Mixing Tools

Mixing cups, wooden stirrers, and digital scale to accurately measure and mix epoxy and hardener.

Safety Gear

Wear gloves, a mask, and eye protection when working with epoxy.

Heat Source

A hit gun or torch for removing air bubbles and curing the epoxy.

Level

A level to ensure the wood slab is perfectly level.

Sander and Sandpaper

For preparing the wood surface and sending epoxy at the last stage.

Finish and Sealant

A finish to protect the wood.

Table Legs or Base

High-quality, very solid, and flexible at the same time.

Steps to manufacture an Epoxy Resin Table:

Design and Planning

Decide on the table design, including the shape, size, colours.

Defining the Edges

They are going to be soft or with a simple pattern or with stones or seashells around.

Prepare the Wood Slab

Ensure the wood is clean, levelled, dry, and properly sanded and the edges to be sanded and clean as well.

Mix Epoxy Resin

Follow the manufacturer’s instructions to mix the epoxy resin and hardener in the correct proportions and resin pigments.

Pour the Epoxy

Pour the first layer as we planned to start from the centre and working outward. Use a hit gun or torch to remove bubbles that may rise to the surface.

Incorporate Inclusions (Optional)

If we like to include inclusions like objects within epoxy including rocks, crystals, glass diamond seashells, place them while the epoxy is still wet.

Curing and Drying

Allow the epoxy to cure and harden according to the manufacturer’ instructions.

Display or Use

Epoxy resin table is now ready to be displayed.

Attach Table Legs

Once the epoxy is fully cured and the finish is applied, attach the table legs to the wood according to our design plan.

Final inspections

Inspect the table for any remaining imperfections and make any necessary touch-ups.

Sand and Finish

Sand any rough edges or imperfections on the epoxy surface, clean the surface and pour the second layer where we create depth, contrast, and details, after drying we sand the bottom of the top table and polishing the bottom surface as well.
Manufacturing an epoxy resin table is a creative and rewarding process that results in a unique piece of furniture, by following these steps and paying attention to details, you can create a professional and stunning epoxy resin table that compliments your interior decor.
Scroll to Top